Saturday, 22 November 2014

STEP BY STEP WEBAPI FOR BEGINEERS

Asp.Net Web API Overview

download code from here:WebApi Example
Note:please change database connection in web.config
Asp.Net Web API is a framework build on .NET for building HTTP services that can be consumed by a wide range of clients including browsers, mobiles, iphone ...... If you know MVC then you can are already know 75%  webApi. It contains the MVC features such as routing, controllers, action results, filter, model binders, IOC container/ dependency injection. Remember,It is a part of the core ASP.NET platform and not MVC and can be used with MVC and Web applications like Asp.Net WebForms.

ASP.NET Web API Features

  1. It supports convention-based CRUD Actions since it works with HTTP verbs GET,POST,PUT and DELETE.
  2. Responses have an Accept header and HTTP status code.
  3. Responses are formatted by Web API’s MediaTypeFormatter into JSON, XML or whatever format you want to add as a MediaTypeFormatter.
  4. It has default  support for OData. Hence by placing the new [Queryable] attribute on a controller method that returns IQueryable, clients can use the method for OData query composition.
  5. It can be hosted on IIS and in  application also
  6. It also supports the MVC features such as routing, controllers, action results, filter, model binders, IOC container or dependency injection that makes it more simple and robust.
  7. It is only based on HTTP and easy to define, expose and consume in a REST-ful way.
  8. It is light weight architecture and good for devices which have limited bandwidth like smart phones
Point to be Noted:- You can use WebAPI only with HTTP which make it different from WCF ,which supports all protocols
So, we can say that using ASP.NET Web API, we can create HTTP services
  • WebAPI is non-SOAP based like plain XML or JSON string.
  • using full features of HTTP.So, can reach broader range of clients (browsers and mobile devices...).
Following is the typical ASP.NET Web API processing architecture.

What is the difference between Asp.Net Web API and Asp.Net MVC

Asp.Net MVC is used to develop web applications that returns both views and data but Asp.Net Web API is used to create HTTP services with easy way that returns only data not view like in MVC.
Apart,Web API helps to build true REST-FUL services over the .NET Framework and it also support CONTENT NEGOTIATION which mean deciding or choosing the best response format data like (JSON,XML,ATOM or any other formatted data) that could be acceptable by the client.


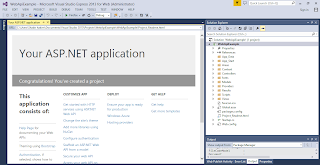
CREATE ASP.NET WEBAPI

  • Open Visual Studio/Visual Express and create “New Project” i.e. File -> New Project.
  • Choose “ASP.NET MVC 4 Web Application” template and name project as “WebAPIExample”.
  • When you click “OK” button, a new window will appear for selecting a sub-template. Actually for ASP.NET MVC 4 Web Application, we have multiple sub-options i.e. Empty, Internet Application, Web API etc.
  • Choose “Web API” and simply press “OK” button.

CREATE REAL TIME WEBAPI :

Let us modify existing service and create webapi service to perform CRUD operation on User:-
we need to prepare the model.
  • Right click on the “Model” folder and fallow below steps
7

We are done with domain creation.
CREATE CONTROLLER
Controller class plays an important role, because request coming from client hits the controller first. Then the controller decides which model to use to serve the incoming request. So, in order to add a controller:
  • Right click on the “Controller” folder and choose “Controller” under “Add” from the context menu as shown in figure.
  • Name the controller as “UserController”.

So you have created Controller which looks like shown above.
Before you continue,Just think what all Actions/Methods you need .I will assume that we need to create WebAPI Service Which will
  • Get All Users

  • Get User based on Id

  • Insert User

  • Delete User

 Let We first Create Data Access related Class for above functionality

Considering you as begineers in WebApi ,please fallow  below steps
  1.  Go to Model folder and add folder with "DAL" name.
  2. Right Click on folder and add class with name UserRepository as show below
     public class UserRepository
        {
            p10Entities p10entities;
            public List DbGetAllUsers()
            {
                p10entities = new p10Entities();
    
                return p10entities.users.ToList();
    
            }
            public User DBGetUser(string username)
            {
                User user = p10entities.users.SingleOrDefault(u => u.UserName == username);
                return user;
            }
    
            public string DBRegisterUser(User user)
            {
                p10entities.users.Add(user);
                int recSaved = p10entities.SaveChanges();
                if (recSaved == 1)
                    return "Saved";
                else
                    return "Failed";
    
            }
            public void RemoveUser(int id)
            {
             // code for deletion
            }
    
            public bool UpdateUser(User userrname)
            {
               //code for updation
                return true;
            }
        }


    So,in above code youy will see " p10Entities". what is it ? DbContext :Simplfied alternative to ObjectContext and is the primary object for interacting with a database using a specific model. So,we are done with dataAccess related functionality,now we have to expose it to external world in the form of JSON or XML
  3. Go to Controller which we created at the begining and add below code
     public class UserController : ApiController
        {
            UserRepository userRepository;
            public HttpResponseMessage GetAllUsers()
            {
               userRepository = new UserRepository();
               var users=userRepository.DbGetAllUsers();
               var resp = new HttpResponseMessage(HttpStatusCode.OK);
               resp.Content = new ObjectContent>(
                users, new JsonMediaTypeFormatter());
               resp.Headers.ConnectionClose = true;
               resp.Headers.CacheControl = new CacheControlHeaderValue();
               resp.Headers.CacheControl.Public = true;
               return resp;
            }
            public HttpResponseMessage UserByUserName(string username)
            {
                userRepository = new UserRepository();
                var users = userRepository.DbGetUser(username);
                var resp = new HttpResponseMessage(HttpStatusCode.OK);
                resp.Content = new ObjectContent(
                                        users, new JsonMediaTypeFormatter());
                resp.Headers.ConnectionClose = true;
                resp.Headers.CacheControl = new CacheControlHeaderValue();
                resp.Headers.CacheControl.Public = true;
                return resp;
            }       
            public string AddUser(User user)
            {
                userRepository = new UserRepository();
                userRepository.DbAddUser(user);
                return "Added";
            }
            public string Delete(string id)
            {
                userRepository = new UserRepository();
                userRepository.DbRemoveUser(id);
                return "Deleted";
            }
        }
    
  4. Finally, just build your solution and try to put API's in action like shown below.

Next we will see how to clean up code and use DEPENDENCY INJECTION AND UNIT OF WORK Patterns..

How to Build a Full-Stack Web App with Blazor

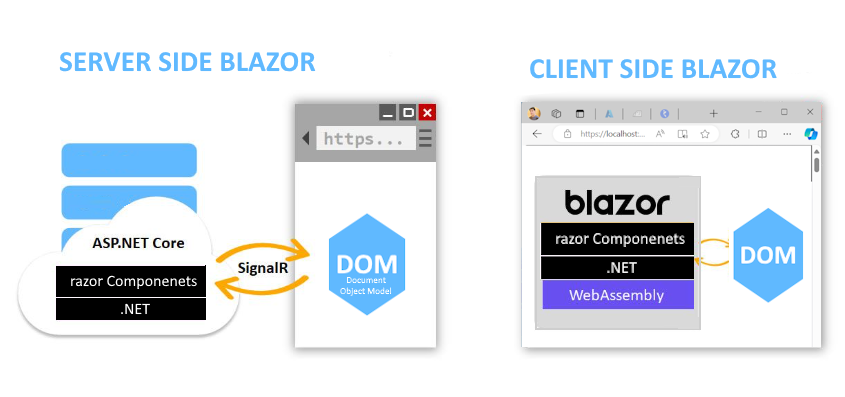
  Blazor Stack Overview Important Points: Blazor stack gives you options to create Web Applications without writing JavaScript (doesn't ...